Our editorial team selected all these products on their own. This review includes special links, and we might get a commission if you buy something.
During the winter, our lawns face challenges. When spring arrives, they might show bare spots or areas with moss and weeds. However, if you still have some grass left, don’t worry – you can bring your lawn back to its original beauty.
Grass starts growing when temperatures go above 7°C (45°F). With longer days and warmer weather in early spring, it’s a great time to start rescuing your lawn. It doesn’t need to be a big time commitment, as the best results come from small and frequent efforts. By summer, you’ll enjoy a healthy lawn that can handle regular use without a problem.
Take a look at our 12-week plan for spring lawn care below.
Want to find the perfect tools to transform your lawn? Our specialists have tried out various manual and motorized aerators and scarifiers. Take a look at our top scarifier and aerator reviews. Additionally, if you want your lawn edges to look tidy, we’ve selected the best lawn edging options for you.
Achieving the Ideal Lawn: Tips and Tricks
Before you embark on your lawn care journey, make sure you have the following essentials at hand. These items will help you achieve a lush and healthy lawn that you can be proud of:
- LAWN Grass Seed, Fertilizer, and Soil Improver
- Lawn mower
- Half-moon edger
- Garden fork
- Lawn seed
- Spot-control weeds
- Hosepipe
- Edging shears
- Wheeled applicator (if applying moss killer)
- Spring-tined lawn rake
Step 1: Mowing the lawn
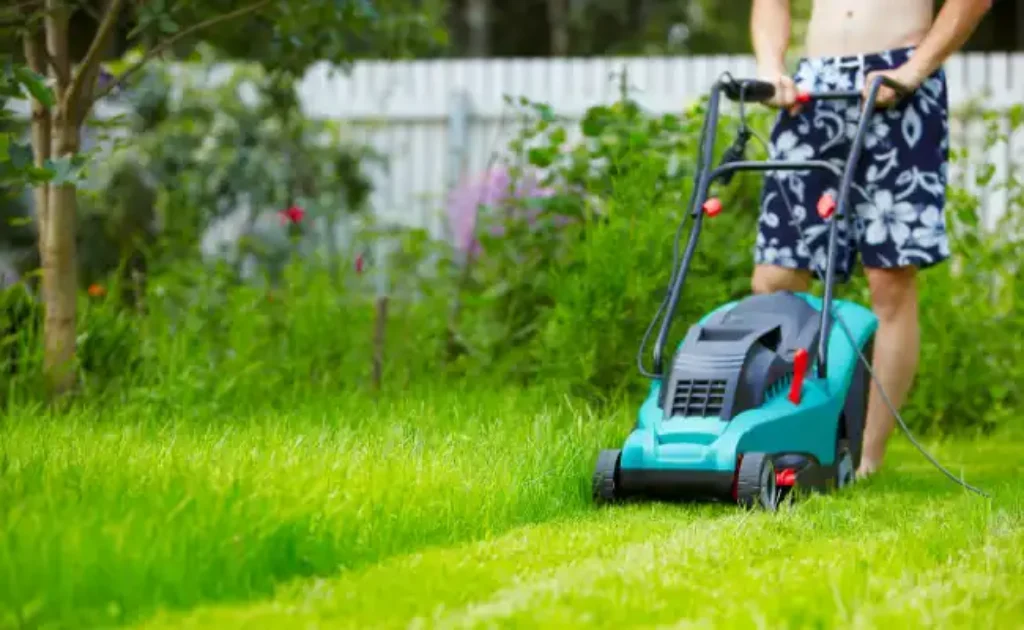
As the weather gets warmer, give your lawn its initial trim. Begin by mowing in one direction and then mow again in a different direction to ensure you don’t miss any areas. Gather the clippings with a rake to prevent them from covering new, growing shoots. Make the edges look tidy using a lawn edger.
Step 2: Boosting Lawn Aeration
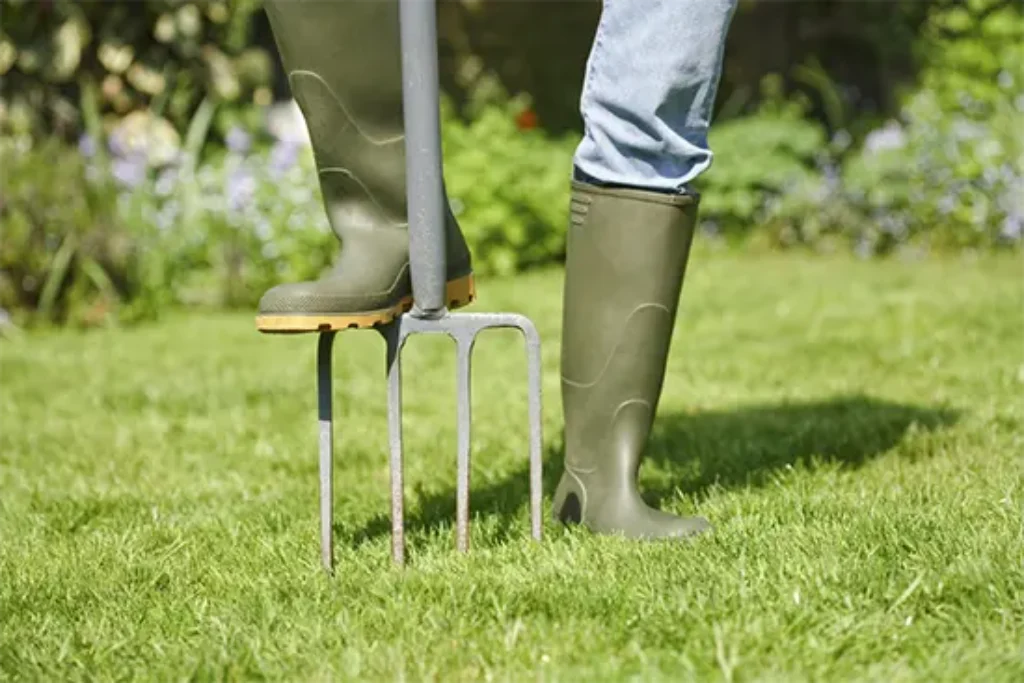
Enhance the air circulation in areas with weak growth or drainage by inserting a garden fork about 4-6 inches into the soil. Gently move it around to lift the soil slightly. Progress in reverse, puncturing the lawn every 6 inches or so.
Step 3: Remove Dandelions and Plantains
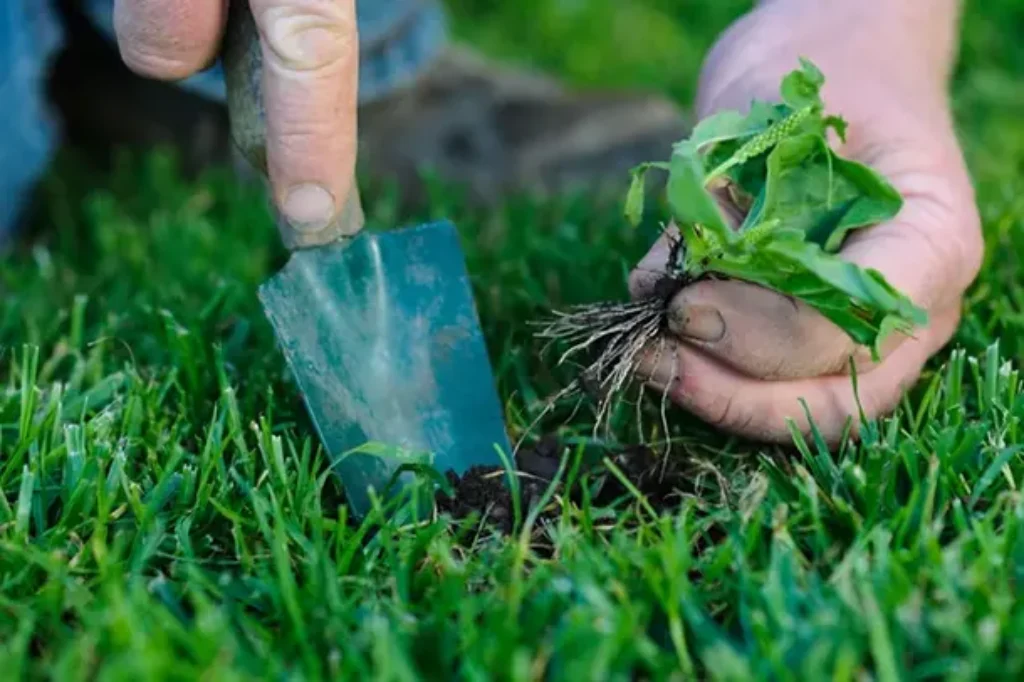
For a well-groomed lawn free of weeds, use a hand trowel to remove dandelions and plantains. If you have a big space, think about using a special weedkiller for lawns. When you mow, make sure to go the opposite way from your last cut to stop the grass from lying flat. Use a rake to take out as much moss as you can, and you can use moss killer if you want. But if you like a more natural appearance where bees and insects can find food, you can skip this part.
Step 4: Scarifying the Lawn
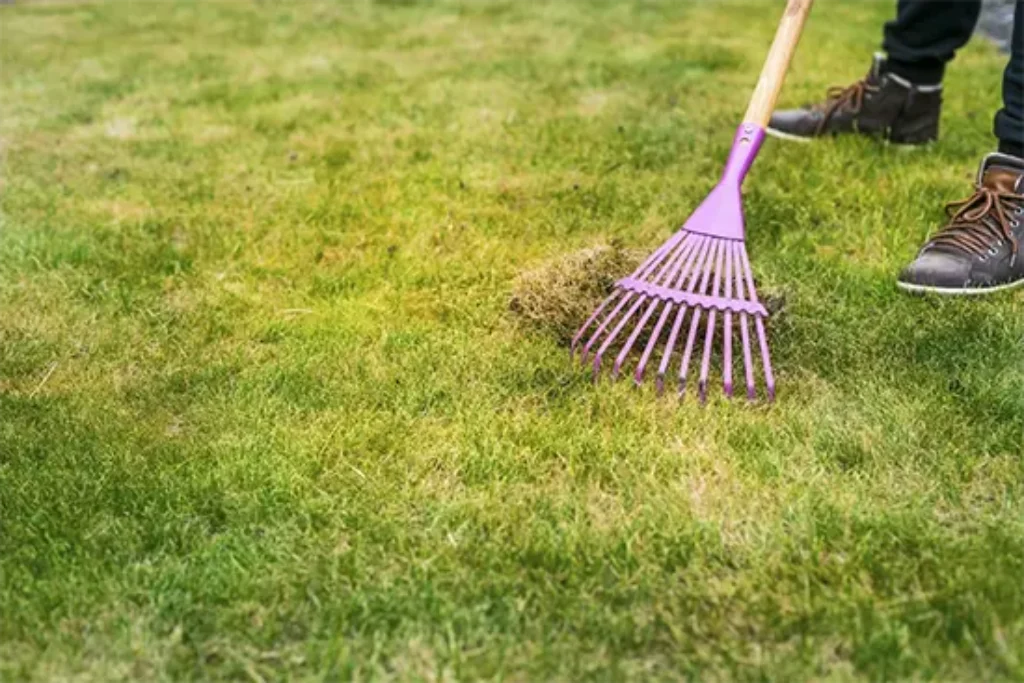
To improve areas with weak grass growth, use a spring-tined lawn rake to carefully rake out dead grass and moss. If your lawn is large, take it step by step, focusing on a small area at a time. Alternatively, you can consider renting a powered scarifier for more efficiency. Don’t forget to gather and remove the debris you’ve raked up. Your lawn might initially look uneven, but don’t worry, it will recover soon. When it’s time to mow, set the lawnmower blades to a low setting for better results.
Step 5: LAWN Grass Seed, Fertilizer, and Soil Improver
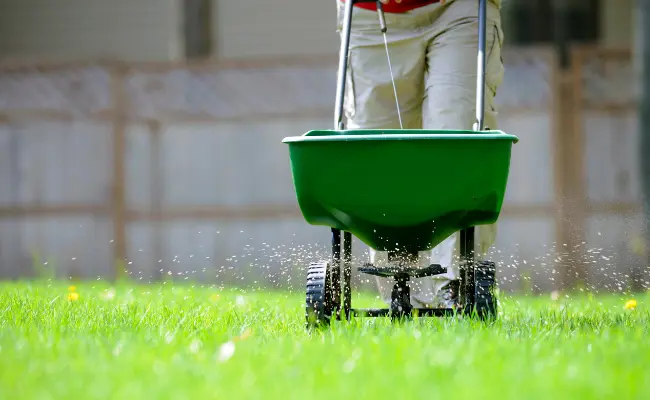
From now on, when you mow the lawn, don’t remove the clippings. Just let them stay on the grass. They’ll work as a nutritious mulch that feeds the grass. To give your lawn an extra boost, use a special lawn fertilizer. During mild weather, consider adding slow-release fertilizers like pelleted chicken manure, spring lawn feed, or a versatile option. Make sure to water thoroughly if there’s no rain coming. If needed, trim the edges neatly.
Many lawn owners believe that one spring feeding is enough for a healthy lawn. However, lawn experts know better. Your grass needs to be fed multiple times throughout the year, using the right lawn food for the season and your area. We recommend giving your lawn 4 feedings for the best results. For this, we suggest using Scotts Turf Builder THICK’R LAWN Grass Seed, Fertilizer, and Soil Improver. This product is designed to help your lawn thrive.
Step 6: Repair Bare Patches
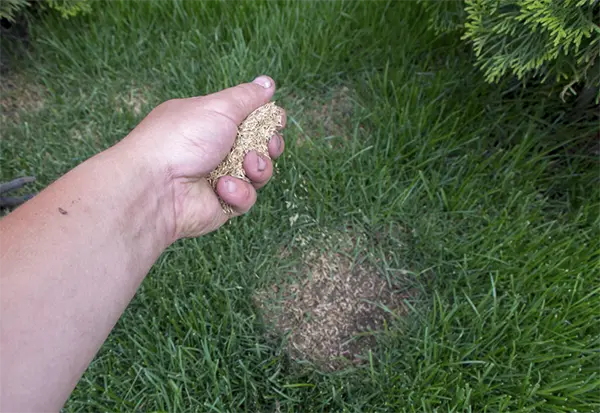
Fix empty spots a few days after applying fertilizer. Loosen the soil, spread seeds, and then sprinkle some potting compost. If there are thin areas, use only half the amount of seed mentioned on the packet and gently rake it in. Put netting over newly seeded areas to stop birds from getting to them.
Step 7: Watering Your Lawn
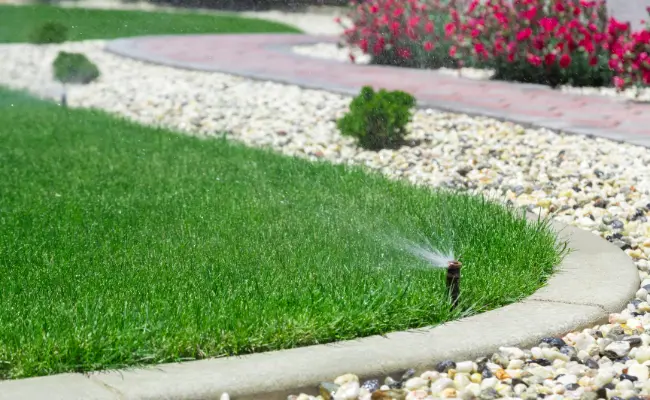
Mow the lawn every week or every two weeks, depending on how you want your lawn to appear. Allow newly planted sections of grass to grow without mowing and make sure they get enough water. If it’s not raining much, you can use a sprinkler.
If you need assistance in picking the right hose, check out our expert evaluations of hoses and hose reel kits.
Step 8: Mower With a Rear Roller

Press down gently on the roots of newly planted patches to help them settle in properly. If your lawnmower has a roller, move it across the area without the engine running. Another option is to gently step on the grass. Don’t cut the grass on the reseeded patches until it reaches a height of 4cm (1.6 inches).
Step 9: Keep Mowing and Edging Your Lawn
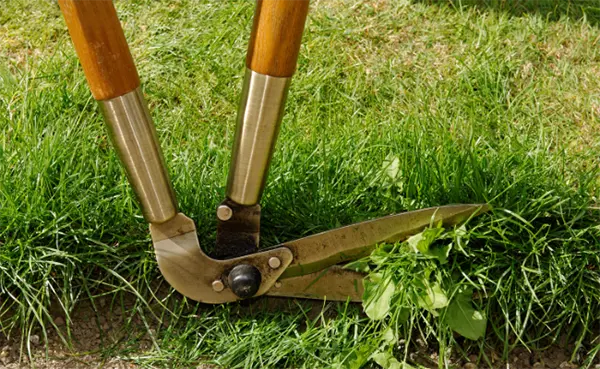
Continue to mow and tidy up your lawn as needed. In just a short while, it should start looking strong, lush, and uniform. If there’s been a lot of activity on the lawn, do some fixes. If there are damaged parts, gently loosen the soil surface with a spring-tined lawn rake. If your soil is clay-like, you can poke holes with a fork to lessen how tightly packed it is.
Step 10: Raise the Mower’s Cutting Height
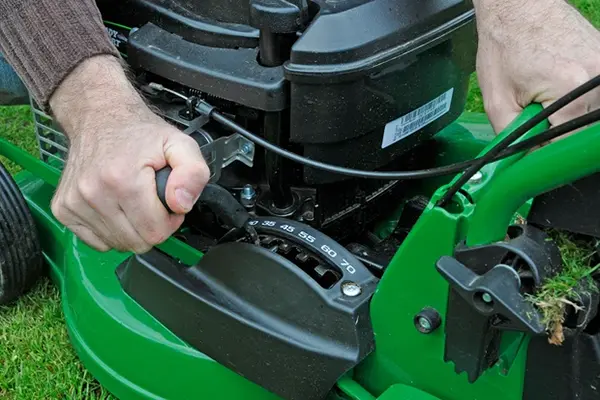
When it’s hot and dry, raise the lawnmower’s cutting height, and make sure to water newly planted sections thoroughly. To maintain a healthy lawn, use slow-release fertilizer on the parts that are already established. For recently reseeded areas, provide a gentler boost with diluted liquid seaweed feed. This will help your lawn stay vibrant and lively.
